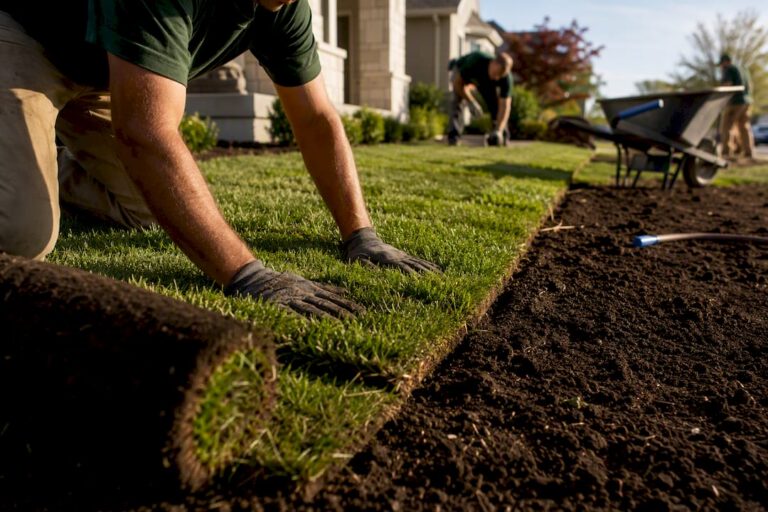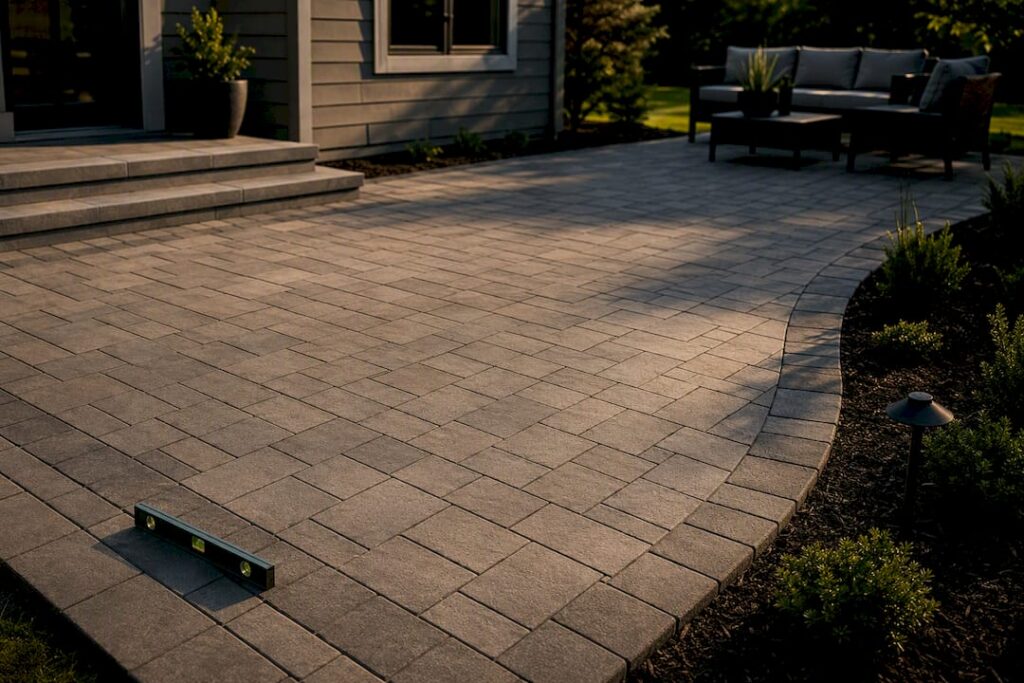
Herringbone, running bond, basketweave, ashlar, stack bond, and circular or fan patterns cover almost every patio, walkway, or driveway you’ll plan. The single rule that decides between them: match the pattern to how the surface gets used, how the space is shaped, and whether water needs to drain through it. Vehicle areas call for herringbone’s interlock, tight walkways benefit from diagonal orientation, and everything else comes down to base prep and edge restraint.
TL;DR:
- Using a proper base depth, secure edge restraints, and thorough compaction are more crucial for patio longevity than pattern choice.
- Herringbone is best for driveways and heavy-traffic areas due to its interlocking strength, while simple patterns like running bond suit DIY projects or light-use patios.
- Complex patterns such as curved, circular, or heavily bordered designs generally require 5% to 10% more materials, especially when cutting occurs.
- Planning a mock-up and considering border orientation beforehand can significantly reduce cutting waste and improve the finished look.
- Prioritize durability factors over visual appeal by ensuring the contractor has clear guidelines on base preparation and compaction techniques.
Table of Contents
- What Are the Most Common Paver Patterns?
- How Do You Choose the Right Paver Pattern?
- What Does a Paver Patio Installation Look Like Step by Step?
- How Do You Reduce Cuts and Improve the Finished Look?
- What Do Landscapers See Go Wrong With Paver Patterns?
- What Actually Matters More Than the Pattern You Pick
- Get a Paver Patio Built to Last, Not Just Look Good
- Sources
- FAQ
What Are the Most Common Paver Patterns?
Six patterns cover the vast majority of residential projects, and each one solves a different problem.
- Herringbone (45° or 90°): Units lock together in a zigzag field that resists shifting under weight, which makes it the go-to choice for driveways and other vehicular areas. The tight interlock spreads load across more joints than any other layout.
- Running bond: Rows of rectangular pavers stagger like brick, offset by half a unit. It’s the easiest pattern for a first-time DIYer because cuts are minimal and the layout logic is simple.
- Basketweave: Pairs of rectangular pavers alternate direction to form a woven look. It reads as formal and traditional, but it only works cleanly when your units come in exact multiples (a 2:1 length-to-width ratio is standard).
- Ashlar or modular: Mixed rectangle sizes combine in a planned, seemingly random arrangement. You get more visual interest than running bond, but sizing coordination takes more upfront planning.
- Stack bond: A simple grid with no offset. It looks clean and modern, but the joints line up in both directions, which weakens interlock. Reserve it for patios and other low-traffic, mostly decorative spots.
- Circular, fan, and cobble variants: Curved courses radiate from a center point, ideal for entryways, fire pit surrounds, or a focal circle inside a larger field. They demand the most cutting of any pattern on this list.
For a patio under light foot traffic, basketweave or ashlar gives you the most visual payoff. For anything a car will drive on, herringbone is the safer structural bet.
How Do You Choose the Right Paver Pattern?
Four questions narrow the field fast, before you fall in love with a pattern that suits your project and holds up well.
- What will the surface carry? Pedestrian areas tolerate stack bond and basketweave. Vehicular areas need herringbone or another high-interlock pattern, paired with a thicker base.
- What’s the shape of your space? A narrow walkway looks wider when pavers run diagonally or in herringbone across the path. A wide, open patio can feel more contained with rows laid lengthwise.
- Do your units match the pattern? Basketweave and ashlar require specific size ratios. A single uniform paver size works for running bond and stack bond with no coordination needed.
- How much waste can you plan for? Simple layouts like running bond stay near baseline material use. Complex patterns typically need 5% to 10% more pavers than a simple layout, and curved or heavily bordered designs generally push that overage higher.
Permeable installations add one more filter. If you’re managing runoff, the joint width and aggregate you choose matter as much as the pattern itself, and that decision should get made before you order material, not after.
What Does a Paver Patio Installation Look Like Step by Step?
A dependable paver installation follows the same sequence regardless of which pattern you pick. The order matters. Skip a step, and even the best-looking pattern fails early.
- Plan and sketch the space. Draw the area to scale, lay out the pattern on paper, and mark elevations so water sheds away from the house.
- Calculate materials with overage built in. Add 5% to 10% for standard patterns, more if you’re cutting curves or building custom borders.
- Excavate and build the base. Compact crushed rock in lifts rather than one thick pour. Driveways need a deeper structural section than patios or walkways, and this is where ASTM and DOT guidance on base and bedding depth becomes genuinely useful rather than optional reading.
- Install edge restraints on every side. This step gets skipped more than any other, and it’s the one most likely to cause failure. Restraints keep the whole field from creeping outward under load.
- Screed bedding sand, then lay pavers hand-tight in your chosen pattern. Cut border pieces with a masonry saw, and never leave a perimeter piece smaller than one-third of a full unit.
- Sweep in joint material and compact. Standard sand works for solid installations; permeable systems need graded aggregate instead. Compact, resweep, and compact again until joints stop settling.
- Maintain the surface. Sweep weekly, flush permeable joints when they slow down, and reseal non-permeable pavers every 3 to 5 years.
A useful planning benchmark: one person working alone can install roughly 300 square feet in about 8 hours under good conditions. Complex patterns with heavy cutting slow that pace considerably, so budget extra weekend time before committing to herringbone across a large driveway.
How Do You Reduce Cuts and Improve the Finished Look?
Orientation changes how a space feels before you lay a single paver. Running the field diagonally across a narrow walkway makes it read wider, while lengthwise rows pull in a space that feels too open.
- Use a soldier or sailor course, a border row set perpendicular or parallel to the main field, to create a clean edge and lock the interior pattern in place.
- Plan borders before you start the main field, not after, so you avoid ending up with slivers along the perimeter.
- Never leave a cut piece under one-third of a full unit near an edge that will see foot or tire traffic; Iowa DOT’s paver specification sets that minimum for durability reasons, and it applies whether you’re working on a walkway or a driveway apron.
- If a pattern isn’t working once cutting starts, shift the layout slightly or add a custom border rather than forcing awkward pieces into place.
Pro Tip: Build a small 5 ft by 5 ft mock-up before ordering your full material order. It’s the fastest way to catch a color mix you don’t like or a joint width that looks wrong, and it costs you an hour instead of a redo.
What Do Landscapers See Go Wrong With Paver Patterns?
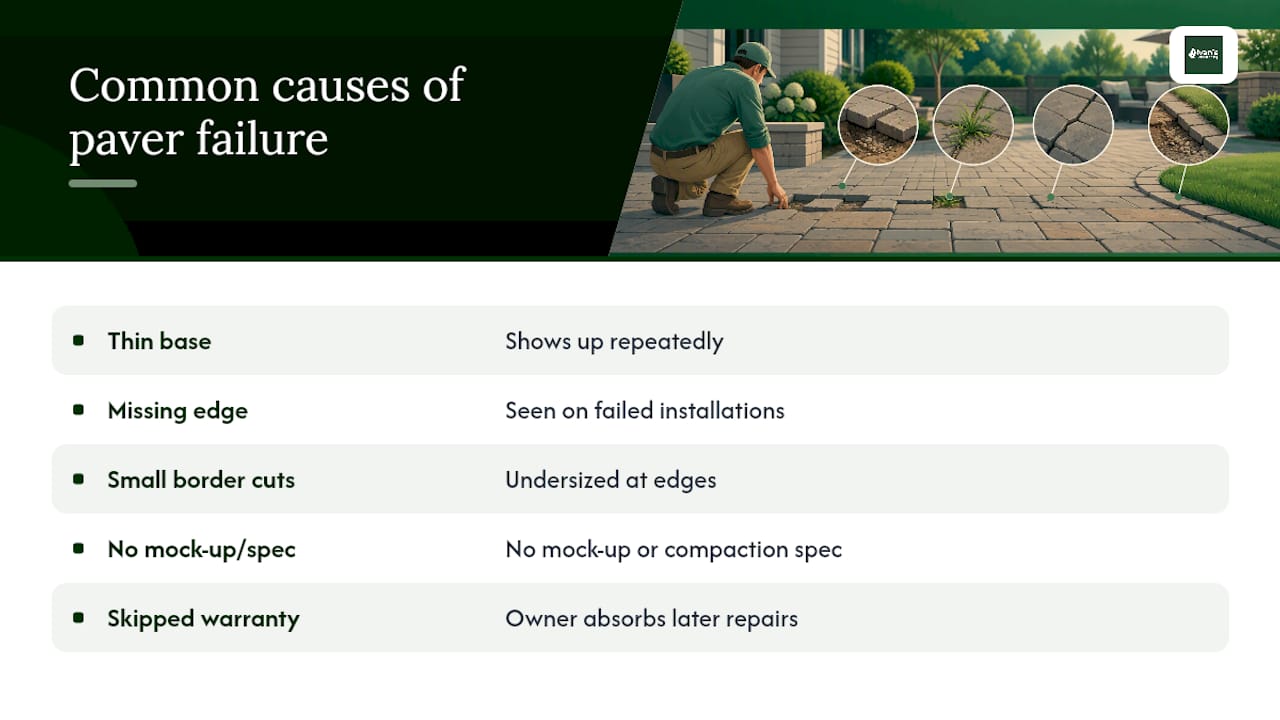
Experienced landscaping professionals have found that the pattern rarely causes the failure. Thin base depth, missing edge restraints, and undersized cut pieces near the border show up again and again on sites that never had a mock-up or a written compaction spec. Skip a warranty conversation with your contractor, and you’re the one absorbing the repair cost two years later.
What Actually Matters More Than the Pattern You Pick
Homeowners spend most of their planning time comparing herringbone against basketweave, and that’s the wrong place to spend it. The research is consistent on this point: pattern choice is largely aesthetic once you’ve matched it to pedestrian versus vehicular use. What actually determines whether a patio lasts is base depth, compaction, and edge restraint, the unglamorous parts nobody photographs for inspiration boards.
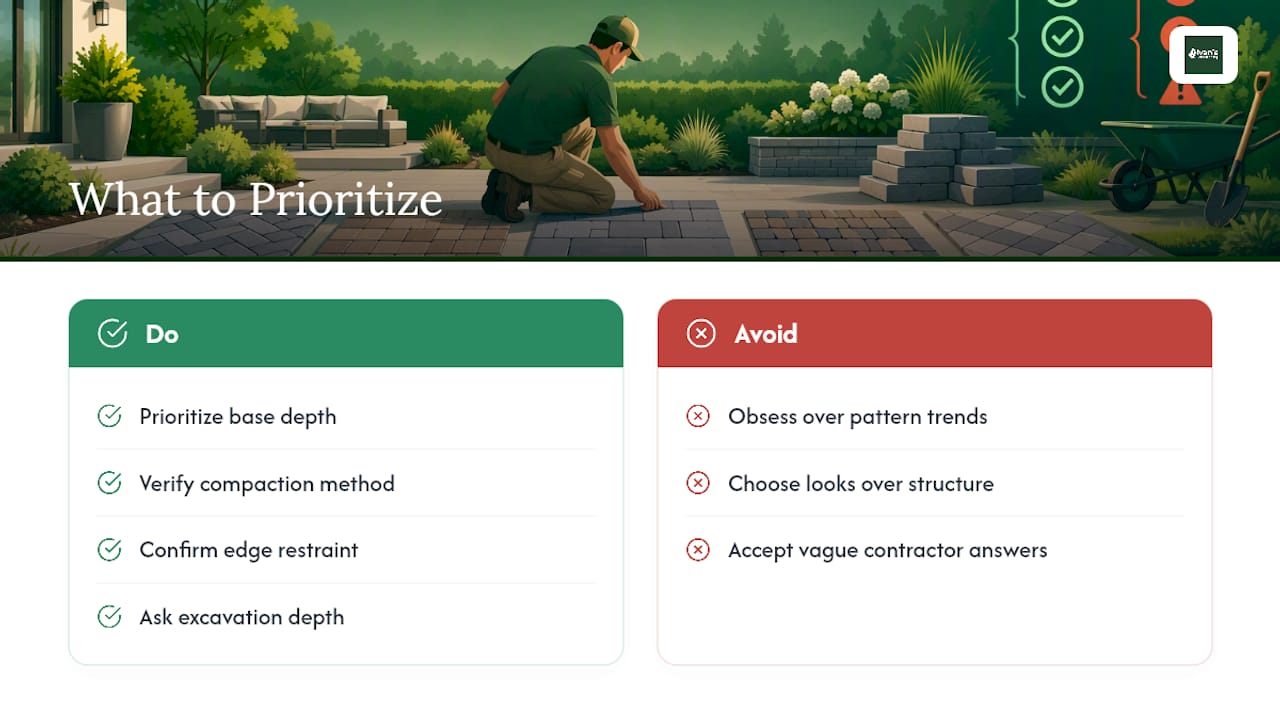
Conventional advice leans hard into “which pattern is trendiest,” and that framing sets homeowners up to obsess over the wrong variable. A stack bond patio with a proper base will outlast a herringbone driveway installed on four inches of unlevel gravel. If you take one thing from this guide, prioritize the base and restraint conversation with any contractor before you finalize a look. Ask what compaction equipment they use and how deep they’re excavating. If they can’t answer specifically, that’s worth more than any pattern comparison.
The pattern gets you excited. The base is what keeps you from redoing the whole project in three years.
— Chas
Get a Paver Patio Built to Last, Not Just Look Good
Picking the right pattern is only half the job. Getting the base, edge restraints, and compaction right is what separates a patio that holds up for decades from one that heaves and shifts within a couple of seasons. Ivan’s Landscaping builds paver patios across McHenry County with a satisfaction guarantee behind the work, fast response times on free estimates, and job sites left clean when the crew heads out. If you’re weighing herringbone against basketweave for your own backyard, request a free estimate and we’ll walk your site, talk through pattern options that fit your space, and put together a plan that accounts for drainage and traffic before a single paver gets ordered.
Sources
- 10-Step Guide to Installing Pavers | Oregon State Extension
- Installing interlocking concrete pavers, part one | Yard and Garden
- Permeable Interlocking Concrete Pavement Guidelines (NCDOT March 2024)
- Section 7080 – Permeable Interlocking Pavers | Iowa DOT
FAQ
What Is the Best Pattern for Pavers?
There’s no single best pattern. Herringbone offers the strongest interlock and works best for driveways, while running bond is easiest for a DIY patio with minimal cutting.
Which Paving Pattern Is the Strongest?
Herringbone, laid at 45 or 90 degrees, provides the best interlock of any common pattern because units lock together in a zigzag that resists lateral movement. That’s why it’s recommended for vehicular surfaces over decorative patterns like stack bond.
What Are Some Common Patio Paver Design Patterns?
Running bond, basketweave, ashlar, and herringbone all work well on patios. Running bond is simplest for beginners, basketweave adds a woven decorative look, and ashlar mixes rectangle sizes for a planned, varied field.
How Do You Lay Out a Paver Patio?
From there you screed bedding sand, lay pavers hand tight, cut the perimeter, and sweep in joint material before compacting the finished field. Ivan’s Landscaping can handle the full layout and build if you’d rather skip the equipment rental.
How Much Extra Material Should I Order for a Complex Pattern?
Curved designs, circular accents, or heavy border cutting can push that overage higher, so order generously rather than running short mid-project.