Choose pavers when long-term repairability and design flexibility matter most; choose plain poured concrete when upfront budget and a simple, uniform slab are the priority. Installed pavers typically run $11 to $32 per square foot against $6 to $14 for poured concrete, but pavers often last 30 to 50 years versus 20 to 30 for concrete. Both options are installed by professional landscaping services, and the right pick depends less on which material is “better” than on how you plan to use, maintain, and eventually to repair the surface.
TL;DR:
- Pavers cost more initially but can last up to 50 years, while concrete costs less upfront but typically requires repairs within 20 to 30 years.
- Proper base construction is critical for paver longevity, with inadequate preparation leading to settlement, weeds, and tripping hazards.
- Pavers are easier to repair individually when cracked or sunken, unlike concrete which often needs patching or full replacement.
- Pavers offer greater design flexibility with colors, patterns, and shapes, making them suitable for customized and expandable outdoor spaces.
- Climate influences durability, as pavers outperform concrete in freeze-thaw cycles, and installation quality heavily impacts lifespan and maintenance costs.
Table of Contents
- Pavers vs Concrete: A Quick Decision Summary
- What Actually Drives the Price of a Patio?
- How Long Will Each Surface Actually Last?
- Getting the Base Right (or Why You Can’t Just Lay Pavers on Dirt)
- What Does Upkeep and Repair Actually Look Like Over Time?
- Which Material Fits Your Design Goals?
- How to Vet a Contractor and Inspect the Finished Job
- What the Cost Comparisons Miss
- Ready to Build a Patio That Lasts?
- Sources
- FAQ
Pavers vs Concrete: A Quick Decision Summary
Every homeowner comparing pavers vs concrete is really weighing the same six factors: cost, lifespan, repairability, maintenance, looks, and how much of the work they can do themselves. Here’s how the two stack up on each one.
Upfront cost. Poured concrete wins almost every time on initial price. A basic broom-finish concrete patio runs roughly $6 to $14 per square foot installed, while pavers land between $11 and $32 per square foot depending on the unit style and pattern complexity, according to benchmark pricing data from MaterialCalc. If your budget is the deciding factor and you just need a functional slab, concrete gets you there for less.
Lifespan and long-term value. Pavers close the cost gap over time. Cost comparison research from Current Cost shows that while pavers often cost about double a plain concrete patio on a simple project, amortizing that cost over a paver system’s longer service life narrows the annual cost difference considerably.
Repairability. This is where the two materials genuinely diverge. Pavers are modular, so a cracked or sunken unit gets lifted and reset without disturbing the rest of the surface. Concrete is a single rigid slab, so damage usually means a visible patch, a mudjacking job, or a full section replacement.
Maintenance commitment. Pavers need periodic joint sand top-offs and occasional resealing. Concrete asks for less routine attention but delivers a bigger, more visible repair bill when problems eventually show up.
Aesthetic flexibility. Pavers offer color, pattern, and texture combinations that plain concrete can’t match without added stamping or staining costs. Concrete can mimic some of that look through stamped or exposed-aggregate finishes, but at a price and durability trade-off worth understanding before you commit.
DIY friendliness. Small paver patios are within reach for a motivated homeowner with the right tools and a weekend or two. Poured concrete almost always calls for a professional crew, since timing the pour, finishing, and curing correctly leaves little room for error.
Here’s the bottom line by priority:
- Tightest budget, simple rectangular patio: plain poured concrete usually wins.
- Planning to add a fire pit, seat wall, or expansion later: pavers make phased work far easier.
- Living somewhere with hard freeze-thaw cycles: pavers hold up better and are cheaper to fix when they do move.
- Want a premium, custom look for an entertaining space: pavers deliver more design range for the money spent.
- Renting, flipping, or on a short timeline before selling: concrete’s lower upfront cost is the more efficient bet.
What Actually Drives the Price of a Patio?
The per-square-foot number on a quote hides a lot of moving parts. Material is only one line item. Base preparation, labor, edge details, and any finish upgrades all move the total, sometimes by more than the material itself.
Plain broom-finish concrete stays cheapest because it requires the least labor per square foot: form the area, pour, finish, cure. Stamped or decorative concrete adds texture and color but also adds labor, sealing, and a higher failure risk if the base wasn’t prepped correctly. Pavers span a wide range depending on tier, from economy concrete pavers to premium clay brick or natural stone units, which is why the installed range runs from $11 to $32 per square foot.
| Surface Type | Installed Cost (Per Sq Ft) |
|---|---|
| Plain broom-finish concrete | $6 to $14 |
| Stamped or decorative concrete | Higher than plain concrete, varies by pattern complexity |
| Economy to mid-tier pavers | $11 to $22 |
| Premium paver or natural stone | Up to $32 |
Beyond the material line, four components shape the final number:
- Base and subbase work — excavation depth, gravel volume, and compaction effort account for a large share of labor cost on both systems.
- Labor and crew size — intricate paver patterns or stamped concrete detailing take longer per square foot than a simple pour or basic running-bond layout.
- Edge restraints — pavers need a permanent edge (plastic, aluminum, or concrete curb) to stay locked in place; concrete forms this edge inherently.
- Finish upgrades — sealing, staining, or specialty joint sand add modest per-square-foot costs that compound on larger projects.
Two quick scenarios show how this plays out. A straightforward 300-square-foot concrete patio with a basic broom finish tends to be less expensive installed than the same footprint in a mid-tier paver with a simple running-bond pattern, which costs more due to material and labor complexity, according to scenario breakdowns from Concrete Estimator Hub. Poor site access, existing patio demolition, or drainage corrections can add hundreds to either quote, so ask about those line items before comparing bids side by side.
How Long Will Each Surface Actually Last?
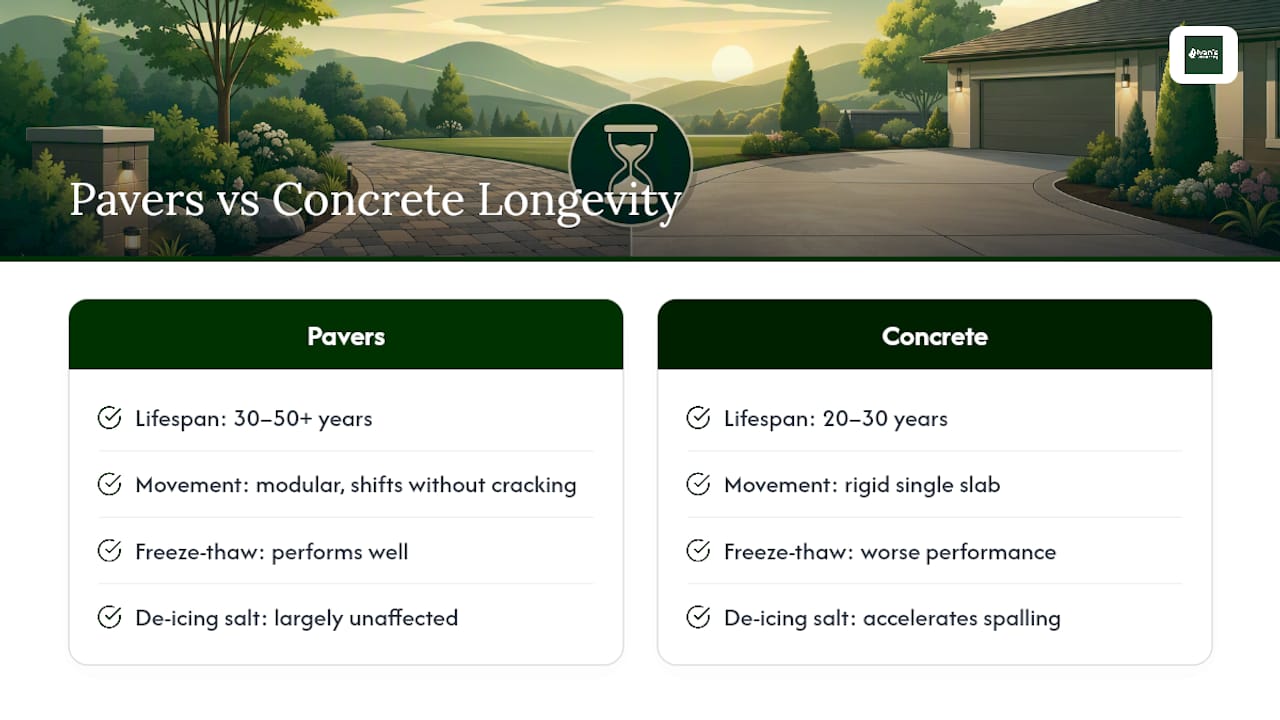
Pavers commonly last 30 to 50 years or more when installed correctly. Poured concrete typically holds up for 20 to 30 years, with stamped or decorative finishes often landing on the shorter end of that range because surface coatings wear faster than the slab underneath.
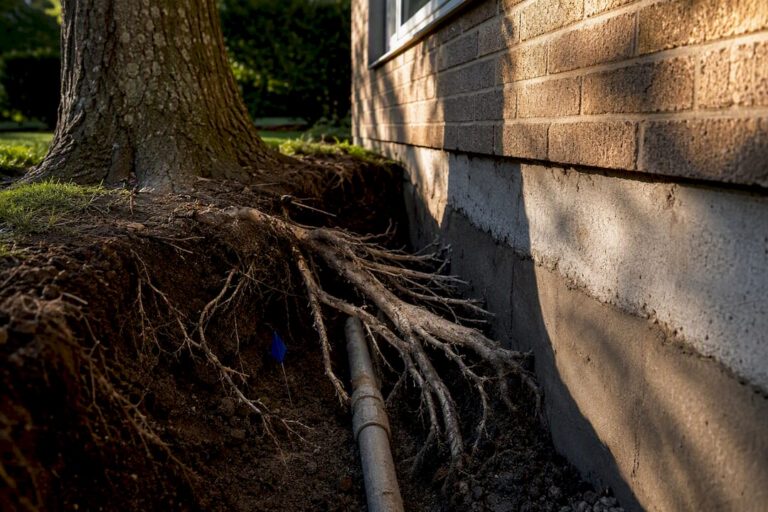
The gap comes down to how each system handles movement. Pavers are individual units set in sand over a flexible gravel base, so they shift slightly with freeze-thaw cycles and ground settling without cracking. Comparative material research confirms that this modular flex is precisely why pavers tend to outperform rigid concrete in climates with hard winters. Concrete is a single continuous slab, so it has nowhere to move. Ground heave, root pressure, or repeated freeze-thaw cycling puts stress on that slab until it cracks.
De-icing salt makes this worse for concrete specifically, accelerating surface flaking and spalling over repeated winters. Pavers are largely unaffected by salt exposure since the individual units aren’t bonded together chemically.
Failure modes look different, too. A settled paver gets lifted, the base gets corrected, and the unit goes back down; the repair is often invisible within days. A cracked concrete slab usually leaves a visible seam, a patch that never quite matches the surrounding color, or the need to break out and repour the whole section.
None of this means concrete is a poor choice everywhere. In hot, dry climates with minimal freeze-thaw stress, a well-poured slab can serve reliably for decades with far less routine attention than a paver system demands.
Getting the Base Right (or Why You Can’t Just Lay Pavers on Dirt)
Omitting a proper compacted base is a leading cause of paver patio failure over time, not any defect in the pavers themselves. Base-construction research from Nicolock points to compaction quality as the biggest long-term performance factor, ahead of the paver product itself.
For a proper paver installation, follow this sequence:
- Excavate the area, typically 6 to 14 inches deep depending on soil type and whether the surface will carry foot traffic or vehicle loads.
- Lay and compact a gravel base in layers, usually totaling around 6 inches for a patio, per installation guidance from Lowe’s.
- Add roughly 1 inch of bedding sand, screeded level, as the surface the pavers actually sit on.
- Set the pavers in your chosen pattern, leaving consistent joint gaps.
- Install a permanent edge restraint around the entire perimeter to keep pavers from creeping outward over time.
- Sweep polymeric sand into the joints and compact the whole surface with a plate compactor.
Poured concrete has its own checklist: proper subgrade compaction, a slab thickness of at least 4 inches for patios, control joints cut every 8 to 12 feet to manage cracking, reinforcement mesh or rebar where loads demand it, and a proper curing period before the surface takes traffic. Stamped finishes add a texturing and coloring step during the same pour window, which raises both cost and the risk of an uneven result if the crew isn’t experienced with the technique.
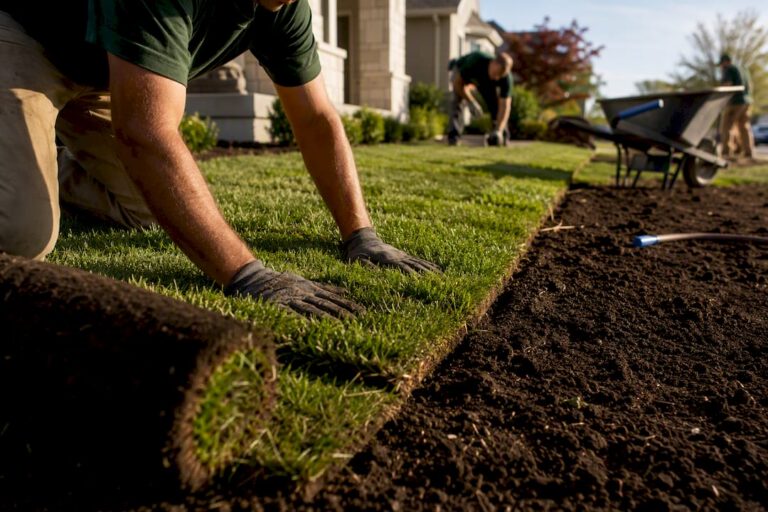
Laying pavers straight onto dirt without a compacted base skips every one of those protections. Installation research from Unilock is direct about the outcome: settlement, uneven surfaces, weed growth through the joints, and tripping hazards within a season or two. A dirt base might get away with a small, purely decorative stepping-stone path, but it’s not a fix for anything meant to hold furniture, foot traffic, or vehicles.

Pro Tip: Ask any contractor bidding your paver patio how many passes they run with a plate compactor per layer of base material. A vague answer is a red flag; a specific number shows they’re actually building the base, not just laying stone on top of dirt.
Hire a professional once the project involves more than a few hundred square feet, any grading or drainage correction, curved or complex patterns, or a surface that needs to support a driveway-grade vehicle load.
What Does Upkeep and Repair Actually Look Like Over Time?
Pavers ask for small, regular attention. Concrete asks for almost none until something breaks, and then the bill tends to be bigger than most homeowners expect.
For pavers, plan to top off joint sand every 3 to 7 years as it naturally washes out, and consider resealing every 2 to 3 years if you want to preserve color and slow weed growth in the joints. Pull any weeds that do establish before they widen the gaps. For concrete, decorative or stamped surfaces need resealing on a similar 2 to 3 year cycle to protect the coloring, while plain broom-finish concrete mainly needs periodic crack monitoring, per maintenance guidance from ICS50.
When repairs are actually needed, the process and the price diverge sharply:
- A sunken or cracked paver gets lifted, the base underneath gets corrected, and the same unit (or a spare from the original batch) goes back down.
- A cracked concrete slab section typically needs mudjacking to relevel it, a visible patch, or a full break-out and repour.
- Paver repairs are usually invisible once finished; concrete patches rarely match the surrounding slab’s color and texture exactly, even with a skilled crew.
One insight worth remembering: pavers get labeled “high maintenance” because of the visible joint work, but contractor perspective from CMOOutlet points out that this routine topping is inexpensive and prevents larger failures, while concrete’s reputation as “maintenance-free” hides the fact that its eventual repairs are both pricier and more visually obvious.
Over a five-year window, expect paver upkeep costs to stay modest and spread across small, manageable jobs, while concrete costs stay near zero until a crack or heave shows up and demands a lump-sum fix. If you go with pavers, ask your installer to set aside a small stack of spare units from the original run. Paver colors fade and product lines get discontinued, so having matching stock on hand makes future repairs seamless instead of a color-matching guessing game.
Which Material Fits Your Design Goals?
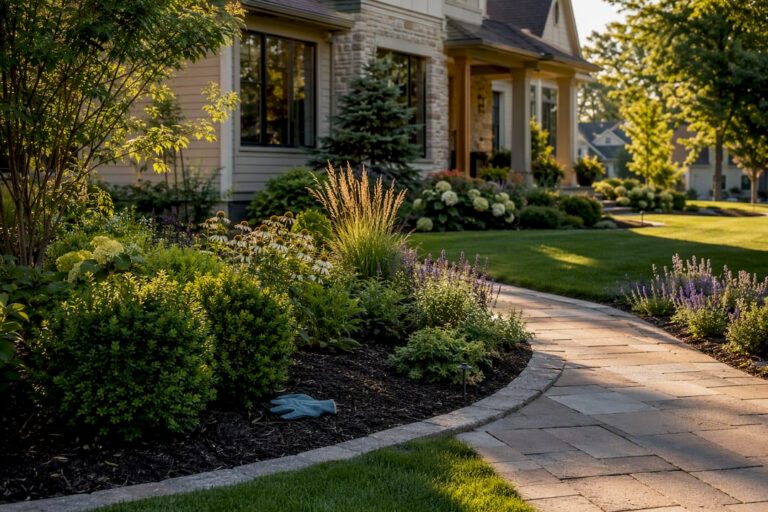
Pavers give you the most creative range: multiple colors, textures, and laying patterns (herringbone, running bond, basketweave) in a single project, plus the ability to add borders or soldier courses that frame the space. They also handle curves and irregular shapes without the forming complexity concrete needs, and a modular layout means you can expand the patio later by simply extending the same pattern.
Concrete’s design range comes through added techniques: broom finishing for basic texture, exposed aggregate for a pebbled look, acid staining for color variation, or stamping to mimic stone or brick patterns. Stamped concrete can look convincingly like pavers from a few feet away, but regional contractor analysis points out it still carries concrete’s underlying failure modes: it’s still one rigid slab that can crack, and repairs still show.
A few practical matching tips:
- Pair pavers with adjacent stone features like seat walls or firepits for a cohesive, upgradeable look.
- Choose stamped concrete only when the budget doesn’t stretch to pavers but the goal is still a textured look, and go in aware of the trade-off.
- Pick lighter paver colors in hot climates to reduce surface heat underfoot; darker stamped concrete tends to get noticeably hotter in direct sun.
How to Vet a Contractor and Inspect the Finished Job
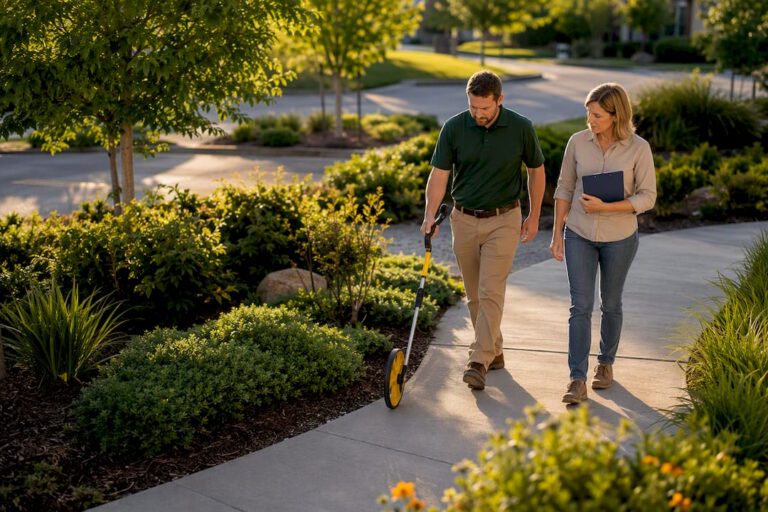
Professional landscaping companies have specialized in paver patio construction and typically check the following items on-site before, during, and after a build.
Ask any bidding contractor these questions before signing anything:
- What base depth and gravel gradation will you use for my specific soil and load requirements?
- How do you compact each layer, and how many passes does that involve?
- What type of edge restraint comes standard, and is it included in the quote?
- Do you use polymeric or standard joint sand, and why?
- What’s covered under your workmanship warranty, and for how long?
- Can I see photos or addresses of patios you’ve completed in the past year?
Require base thickness, material gradation, edge restraint type, and joint sand specification in writing on any bid you’re comparing. If you’re weighing several proposals, our guide on comparing landscaping bids without choosing on price alone walks through exactly which line items separate a durable install from a cheap one.
Once the crew wraps up, walk the finished surface yourself: check for consistent joint spacing, no rocking or hollow-sounding pavers underfoot, positive drainage away from your foundation, and a clean, debris-free site. Ivan’s Landscaping backs every install with a satisfaction guarantee, fast turnaround on free estimates, and customized maintenance plans so your paver patio keeps looking sharp well past year one.
What the Cost Comparisons Miss
Most pavers vs concrete comparisons stop at the per-square-foot number, and that’s the wrong finish line. The number that actually matters is cost per year of service, adjusted for how much a repair will cost you when, not if, something eventually needs fixing.
Conventional advice treats concrete’s low maintenance as a pure win. It isn’t. Low maintenance until failure just means the cost gets deferred and concentrated into one ugly, visible repair instead of spread across small, manageable upkeep. That’s a real trade-off, not a free advantage, and homeowners rarely price it in when comparing quotes.
Here’s what I’d prioritize first: your climate and your patience for periodic upkeep, in that order. If you’re in a region with real freeze-thaw cycles, pavers earn their higher price through repairability alone. If you’re budget-constrained on a simple, low-traffic space and you’re fine with the eventual patch job, concrete is a perfectly rational choice. The mistake isn’t picking either material. It’s picking one without asking your contractor how base depth, compaction, and edge restraint were actually handled, since that’s what determines whether either surface reaches its full lifespan at all.
— Chas
Ready to Build a Patio That Lasts?
Whichever material fits your budget and climate, the install quality behind it decides whether that patio looks good in year one or year fifteen. Experienced paver patio work focuses on getting the parts other bids skip right: full base excavation, proper compaction, and edge restraints that actually hold, sometimes backed by a satisfaction guarantee and a maintenance plan tailored to the specific yard rather than a generic schedule. That means fewer surprise repairs down the line and a surface that still looks like the day it was installed.
If you’re ready to compare a real quote against the benchmark ranges in this guide, request a free estimate for paver patio construction and get specific numbers for your property instead of a generic per-square-foot guess.
Sources
- Pavers vs Concrete Cost Comparison: Price, Per-Sq-Ft Ranges, and Budgeting 2026 – Current Cost
- Concrete vs Pavers — Patio and Driveway Comparison (2026) | MaterialCalc
- How to lay patio pavers on dirt — Unilock
- How to design and build a paver patio — Lowe’s
- Paver patio maintenance that keeps your outdoor space ready every season — Nicolock
FAQ
How much would a 20×20 paver patio cost?
A paver patio typically costs $11 to $32 per square foot installed. The final number depends heavily on paver material, pattern complexity, and site access.
Is it cheaper to pour concrete or pavers?
Poured concrete is almost always cheaper upfront, running $6 to $14 per square foot versus $11 to $32 for pavers. Pavers can narrow that gap over time since they typically last longer and cost less to repair section by section.
What are the downsides of using pavers?
Pavers require more routine maintenance than concrete, including periodic joint sand top-offs every few years and optional resealing to preserve color. They also cost more upfront and need a properly compacted base, which adds to installation labor and cost.
Can I just lay pavers on dirt?
No. Laying pavers directly on dirt without a compacted gravel base and bedding sand leads to settlement, weed growth, and uneven, tripping-hazard surfaces within a season or two. A permanent installation needs proper excavation and a compacted base, even for a small patio.