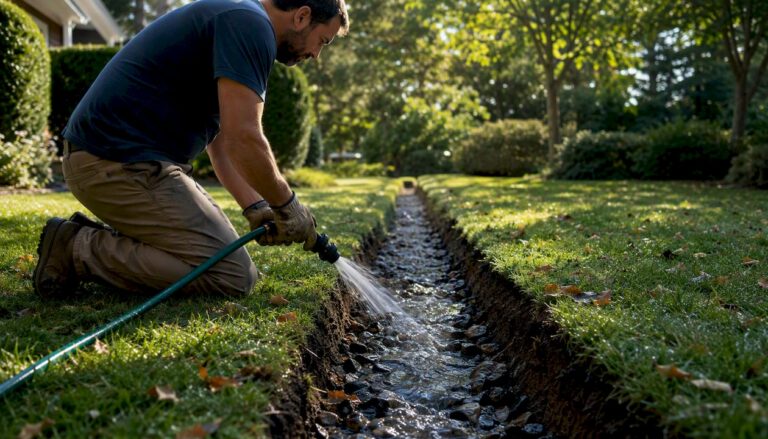
Yes — proper paver patio drainage requires a sloped surface plus a drained, open-graded base; add channel or French drains where slope alone can’t safely move water away. The numbers to hit: a slope of 1/8" to 1/4" per foot (1% to 2%) directing water away from your house, sitting on roughly 6 inches of compacted crushed stone plus 1 inch of bedding sand. Walk your patio during the next rain. Note where water lingers longer than 30 minutes, check the slope with a level and a straightedge, and trace where your downspouts actually discharge.
- Measure slope with a 4-foot level: you want 1/2" to 1" of fall across that span.
- Mark every spot where water pools for more than half an hour after rain stops.
- Check whether downspouts dump water directly onto or against the patio edge.
Key Takeaways
Reliable paver patio drainage combines a 1/8" to 1/4" per foot slope with a properly compacted, drained base, and targeted hardware for whatever slope alone can’t handle.
| Point | Details |
|---|---|
| Slope specification | Build to 1/8"–1/4" per foot (1%–2%), favoring the steeper end near structures or low-clearance edges. |
| Base depth matters | Use about 6 inches of compacted crushed stone plus 1 inch of bedding sand; go to 8–10 inches in clay soil. |
| Fabric prevents contamination | Install non-woven geotextile fabric beneath the base to stop soil fines from clogging drainage voids. |
| Diagnose before you dig | Watch the patio during real rain, map low points, and test the base before choosing a patch versus a rebuild. |
| Get a site-specific plan | Ivan’s Landscaping assesses your soil, slope, and downspout paths directly rather than applying generic specs. |
Table of Contents
- Why Ignoring Paver Patio Drainage Costs You Later
- What Base and Slope Specs Actually Prevent Water Pooling
- How Do You Choose Between Channel Drains, French Drains, and Downspout Fixes?
- Diagnosing Pooling and Deciding Between a Patch and a Rebuild
- How Often Should You Check Paver Patio Drainage?
- Why Trust This Drainage Guide
- What the Industry Gets Wrong About Paver Patio Drainage
- Get Your Paver Patio Drainage Done Right the First Time
- Frequently Asked Questions
- Sources
Why Ignoring Paver Patio Drainage Costs You Later
Water that can’t escape doesn’t just sit there quietly. It seeps into the joints, saturates the crushed stone base, and turns compacted material into a soft, shifting slurry. Once that base loses its structure, pavers settle unevenly, edges heave, and what started as a cosmetic issue on a paver patio becomes a full excavation job.
Clay soil makes this worse because it drains slowly and holds water against the base far longer than sandy soil does. A patio built on clay with the wrong slope can pool water for hours after a storm, repeatedly resaturating the base until it fails. Professional installers who deal with this regularly point out that addressing drainage during the planning phase costs far less than fixing it after pavers have already shifted.
Pro Tip: Check your patio’s slope before you order a single paver. Regrading a bare subgrade takes an afternoon. Tearing out a finished patio to fix the same problem takes a weekend and a truck rental.
What Base and Slope Specs Actually Prevent Water Pooling
The Interlocking Concrete Pavement Institute (ICPI) sets the industry benchmark most contractors build to: 1/8" to 1/4" of slope per foot, moving water away from the house and toward a safe discharge point. On a 12 foot patio, that’s 1.5 to 3 inches of total fall from the house side to the outer edge. Lean toward 1/4" per foot if your patio sits in a low area, faces heavy roof runoff, or has less than 10 feet of clearance before hitting a fence, driveway, or neighboring property.

Base construction matters just as much as slope. Unilock’s installation guidance calls for about 6 inches of compacted, angular crushed stone (open-graded, not the rounded pea gravel some DIYers substitute) topped with 1 inch of coarse bedding sand. The angular stone locks together when compacted, leaving voids that let water pass through rather than pool on top of a solid clay subgrade. If you’re building on clay, increase that base to 8 to 10 inches and wrap it fully in non-woven geotextile fabric, compacting in lifts rather than all at once.
Geotextile fabric goes beneath the crushed stone, separating it from the native soil below. Skip it and fine soil particles migrate up into your base over a few seasons, clogging the voids that were supposed to carry water through.
| Component | Standard Spec | Clay Soil Adjustment |
|---|---|---|
| Slope | 1/8"–1/4" per foot (1%–2%) | Use 1/4"/ft, favor drains |
| Crushed stone base | ~6 inches, compacted | 8–10 inches |
| Bedding sand | ~1 inch, coarse | Same |
| Geotextile fabric | Recommended under base | Wrap fully around base |
Joint material changes the equation too. Polymeric sand locks pavers tightly and resists weed growth, but it also seals the surface more than open-graded chips do, pushing more water toward surface runoff rather than through-joint infiltration. Permeable chips let more water pass directly through the joints into the base below, which works well paired with an engineered permeable system but does little on a standard base without drainage built in underneath.
Permeable paver systems flip the base logic entirely. TRUEGRID’s plastic grid systems can reduce or eliminate the bedding sand layer, using interlocking cells that support the paving surface while creating open channels for water below. The University of Florida’s extension research is blunt about the tradeoff: permeable surfaces only work when the base underneath is engineered as a reservoir; a permeable surface over a standard compacted base just moves the failure point deeper into the ground.
How Do You Choose Between Channel Drains, French Drains, and Downspout Fixes?
Slope handles most water. For the rest, three tools cover almost every scenario homeowners run into:
- Channel drains catch sheet flow across a wide, flat area, like water sheeting off a large patio toward a house foundation. They need a level bed of compacted gravel and secure anchoring, often set in poured concrete, with pipe running to a discharge point downhill or to daylight.
- French drains solve a different problem: groundwater rising up through a saturated base rather than surface water flowing across it. A perforated pipe wrapped in fabric sits in a gravel trench, intercepting water before it reaches your patio’s foundation.
- Dry wells store water temporarily and let it percolate into surrounding soil. They work only where the soil percolates well and the water table sits low; in clay-heavy yards or areas with a high water table, a dry well just becomes an underground bathtub.
Downspout extensions are the cheapest fix worth trying first. Route roof runoff at least 10 feet away from the patio edge before you touch a shovel for anything more complicated. On complicated lots, layering solutions works best: a channel drain that feeds into a dry well, or a French drain that ties into the same discharge pipe as your downspout extension.
Pro Tip: Before installing any drain with a piped outlet to a neighboring property or public right-of-way, check with your municipality. Some jurisdictions in McHenry County require a permit for discharge points that cross property lines.
Diagnosing Pooling and Deciding Between a Patch and a Rebuild
Start with observation, not tools. Watch the patio during and after a real rain, not a garden hose test, and note exactly where water sits, how long it takes to disappear, and where it’s coming from.
- Map every low point and measure the slope at each with a level.
- Trace downspouts and check the slope of the surrounding lawn feeding toward the patio.
- Dig a small test hole near a problem area to check whether the base below is saturated, sandy, or turned to mud.
If the problem is isolated to one or two low spots, a targeted patch often works: lift the affected pavers, add and re-compact crushed stone to restore proper fall, reset the pavers, and refill joints. Contractors who specialize in this repair warn that just adding sand on top of sunken pavers is a temporary fix that fails again within a season because it doesn’t address the compacted or saturated base underneath.
Wider failure, standing water across large sections, or a base that’s visibly turned to mud calls for a full rebuild rather than a patch.
- Tools for a basic patch: flat pry bar, hand tamper or plate compactor, level, extra crushed stone and bedding sand.
- Safety note: wet crushed stone and paver units are heavy; use two people for anything beyond a few square feet.
- Red flag when hiring a contractor: no written drainage plan, or a proposed excavation depth under the 6 inch baseline for your soil type.
How Often Should You Check Paver Patio Drainage?
Run a simple hose test once a year, ideally in spring after freeze-thaw cycles have had a chance to shift the base. Pour water slowly at the high point and watch how it moves; it should track steadily toward your intended discharge area without stalling.
- Clear debris from any drain grates each season, especially before heavy fall leaf drop.
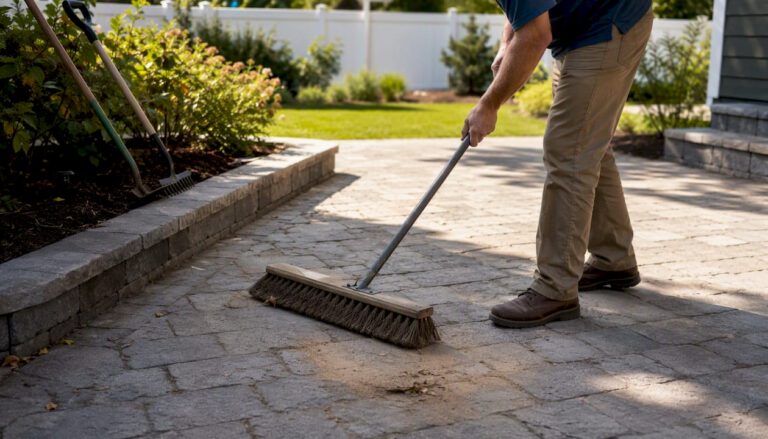
- Sweep or vacuum joint material and top off polymeric sand or chips where it’s visibly thin.
- Inspect edge restraints for gaps that let base material wash out.
Sediment building up inside the joints after just one season, rather than gradual wear over years, usually signals fines migrating up from a base without geotextile fabric. That pattern often points to a rebuild rather than another round of joint refill.
Why Trust This Drainage Guide
Ivan’s Landscaping has built and repaired paver patios throughout McHenry County since 2008, working through exactly the clay soil and freeze-thaw conditions this guide addresses. Every project comes with a satisfaction guarantee, fast free estimates, and a clean job site from excavation through final joint sweep.
- Drainage retrofits: targeted patches for isolated pooling without a full rebuild.
- Base rebuilds: full excavation and reconstruction when saturation has compromised the sub-base.
- Permeable installs: engineered reservoir bases for yards where standard runoff isn’t an option.
What the Industry Gets Wrong About Paver Patio Drainage
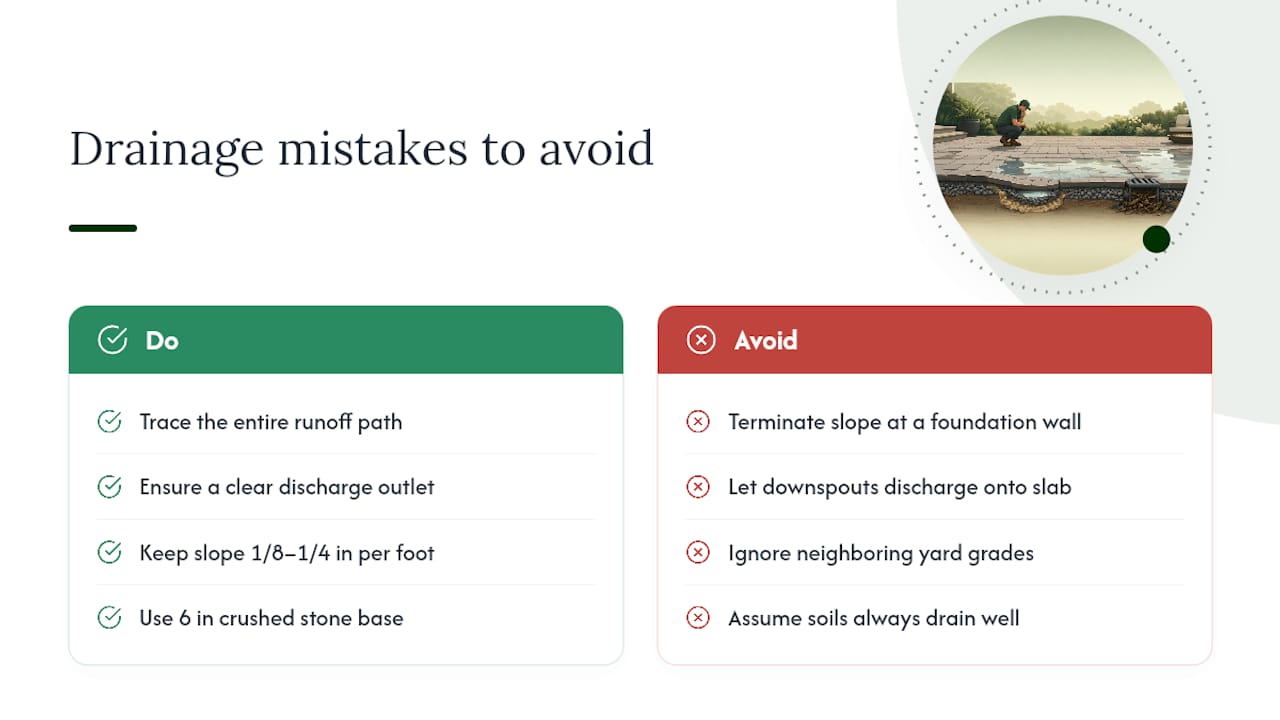
Most guides treat slope and base depth as the whole story, and they’re not wrong exactly, just incomplete. The numbers, that 1/8" to 1/4" per foot slope and 6 inch crushed stone base, are the foundation, but they assume a straightforward site: decent soil, clear discharge path, no adjoining structures fighting the grade.
Real yards rarely cooperate that cleanly. A raised patio edge butting against a foundation wall, a downspout dumping straight onto the slab, a neighbor’s yard sloping the wrong way toward the property line — these details determine whether textbook specs actually solve the problem or just relocate it. The homeowners who get burned aren’t the ones who skip the crushed stone. They’re the ones who nail the slope on paper but never accounted for where the water goes once it leaves the patio edge.
That’s the piece worth prioritizing first: trace the water’s entire path, not just the twelve feet of pavers. A patio can be built to spec and still fail if the runoff has nowhere to go once it clears the edge restraint.
Get Your Paver Patio Drainage Done Right the First Time
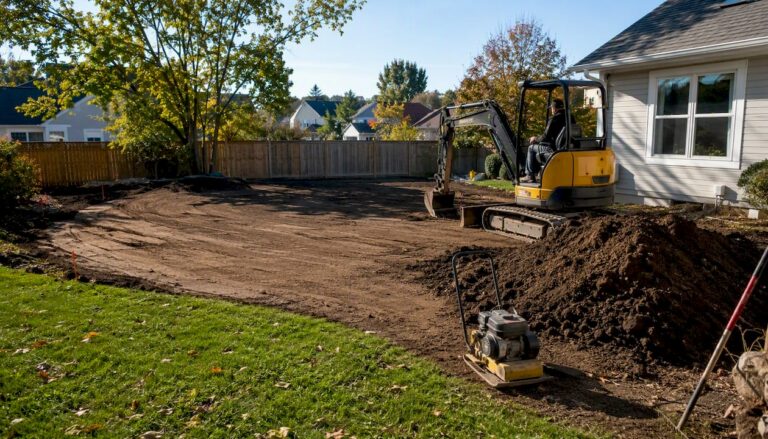
Reading specs is one thing. Digging a test hole in your own yard to find out you’ve got clay two inches down, or discovering your downspout has been dumping straight into your future patio zone for years, is another. Ivan’s Landscaping handles the whole sequence for McHenry County homeowners: soil assessment, correct base depth for your specific site, slope engineered to your yard’s actual low points, and drainage hardware installed where it’s genuinely needed instead of guessed at.
That site-specific approach is the real advantage over a generic install; a crew that already knows how McHenry County clay behaves under freeze-thaw won’t need a callback visit to fix pooling six months later. If your existing patio pools water or you’re planning a new one, request a free estimate through the paver and patio installation page and get a drainage plan built around your actual yard, not a generic template.
Frequently Asked Questions
What is the minimum slope for paver patio drainage? Industry guidance from the Interlocking Concrete Pavement Institute’s standards sets 1/8" per foot (1%) as the minimum, with 1/4" per foot (2%) preferred near structures or in low-lying yards where water has less room to escape.
How deep should the base be under a paver patio? Plan for about 6 inches of compacted, angular crushed stone topped with 1 inch of coarse bedding sand on typical soil, following Unilock’s base guidance. Clay soil calls for 8 to 10 inches and a full geotextile wrap.
Can I fix a pooling paver patio without a full rebuild? Often, yes, if the pooling is limited to one or two low spots. Lift the affected pavers, add and re-compact base material to restore slope, then reset the pavers and refill joints. Just adding sand on top rarely holds for more than a season.
Do permeable pavers eliminate the need for drainage planning? No. Permeable systems still require an engineered open-graded base built to hold and slowly release water; skip that reservoir design and a permeable surface fails just like a standard one would.
How far should downspouts be routed from a paver patio? Extend downspouts at least 10 feet from the patio edge as a first, low-cost step before installing any additional drainage hardware.
Sources
- What is the proper slope for a paver patio? — HowToHardscape
- How thick should a paver base be? — Unilock DIY
- Permeable Pavement Systems — University of Florida IFAS