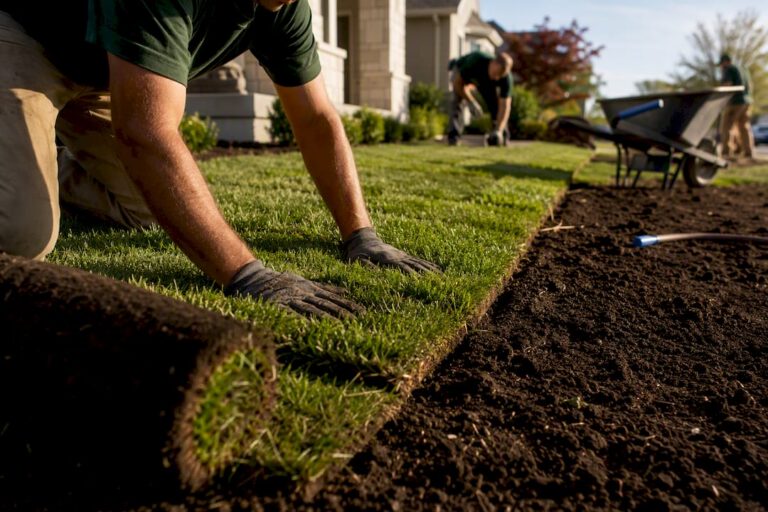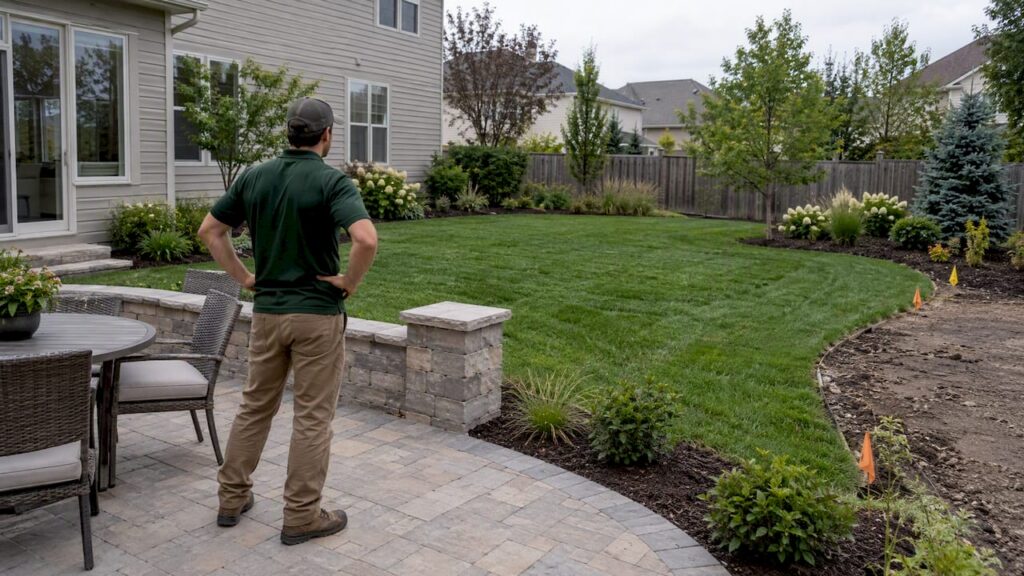
Start with a site analysis: map your sun patterns, slope, drainage, and underground utilities before you buy a single plant or paver. Call 811 at least two business days before any digging so utility operators can mark their lines. Then pick one or two focal features, a patio or a planting bed, and phase the rest so the project fits your budget and timeline instead of draining it in one season.
TL;DR:
- Proper site analysis, including sun, drainage, and utility mapping, is essential to prevent costly rework and ensure long-term landscape success.
- Building a bubble diagram and prioritizing features allow phased development aligned with your budget and site conditions.
- For slope or high-traffic yards, terracing, proper drainage, and durable materials like natural stone or realistic paving improve safety and longevity.
- Choosing plants suited to your USDA hardiness zone, soil, and water needs ensures landscape resilience and reduces maintenance.
- Larger structures like retaining walls and electrical systems usually require professional help to meet safety and building codes.
Table of Contents
- 1. How to Map Your Yard Before You Design Anything
- 2. Turning Your Site Analysis Into a Working Plan
- 3. Backyard Design Ideas by Yard Type and Use
- 4. Choosing Hardscape Materials and Siting Them Right
- 5. Picking Plants That Match Your Zone and Soil
- 6. Design Tools and a Simple Workflow for DIY Plans
- 7. Budgeting, Phasing, and Keeping Up With Maintenance
- What We See Go Wrong Most Often
- How We Help You Build the Backyard You’re Planning
- FAQ
- Sources
1. How to Map Your Yard Before You Design Anything
A good backyard design starts on paper, not at the garden center. The facts you gather in this stage decide almost every choice that follows, from where a patio can sit to which plants will actually survive.
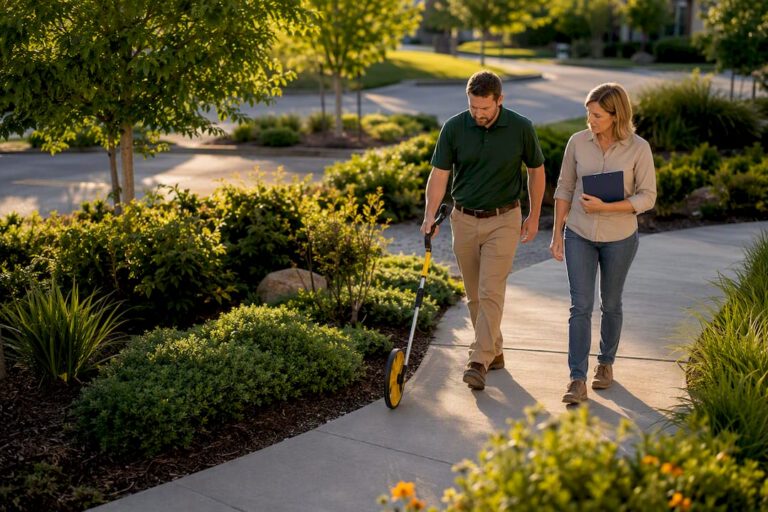
Begin with a base plan: a simple scaled drawing showing your property lines, the house footprint, and a north arrow. You can sketch this by hand on graph paper or trace it from a plat survey if you have one. Once that frame exists, layer in the details that matter most.
- Track sun and shade across the yard for several days at different times, since a spot that looks sunny at noon may sit in shadow by 4 p.m.
- Walk the yard after a rain to see where water pools or runs, and mark slopes and low spots on your base plan.
- Note any large trees, fences, or structures you plan to keep, along with their canopy spread.
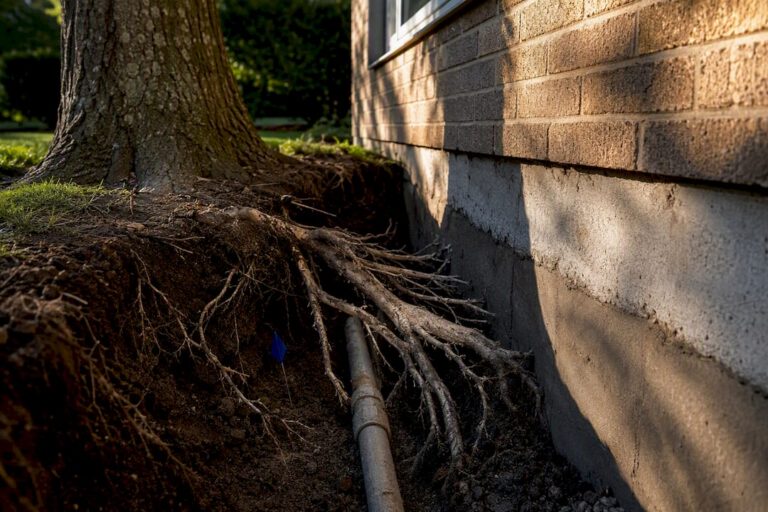
- Call 811 before you dig anything, even a small planting hole near a property line.
- Send a soil sample to a testing lab if you’re planning new beds or lawn areas.
Locating utilities matters more than most DIYers expect. Water-wise landscape design steps from Colorado State University Extension identify site analysis, recording sun, drainage, and soil conditions, as the step professionals take before drafting any plan. Skipping it is the single most common reason backyard projects need expensive rework later.
Once utility lines are marked, you’re still not clear to swing a shovel anywhere you like. Locators typically mark horizontal position only, not depth, and most excavator guidance requires hand digging within a tolerance zone around marked lines, often around 24 inches, before you bring in powered equipment.
Pro Tip: Photograph your yard from the same four corners every season. Comparing those photos later shows you drainage patterns and sun changes you’d otherwise forget.
2. Turning Your Site Analysis Into a Working Plan
Once you have your base plan and site notes, the next job is translating raw observations into a layout you can actually build from. This is where bubble diagrams come in: rough circles drawn over your base plan that mark general use areas without locking in exact shapes or materials yet.
- Draw bubbles for each major function you want: a patio or seating area, open lawn, a vegetable garden, a service zone for trash and storage, and any play space.
- Position bubbles based on your site analysis, sun-loving vegetable gardens go in your sunniest zone, and shaded patios go under or near existing tree canopy.
- Group plants and lawn areas into hydrozones, sections that share similar water needs, so you can irrigate efficiently rather than watering everything on the same schedule.
- Rank your bubbles by priority: the one or two features that will change how you use the yard most should get built first.
- Produce four deliverables before you buy anything: a scaled base plan, a bubble diagram, a plant list, and a materials list.
Hydrozoning does more than save water. According to Colorado State University Extension, grouping plants by water need and irrigating by zone rather than by individual plant increases system efficiency and simplifies your maintenance schedule, since you’re not guessing which sprinkler head serves which plant.
Mississippi State University Extension’s guide to home landscape design follows the same logic: a stepwise process of base plan, site analysis, use-area assessment, and plant selection, installed in phases, produces a coordinated result rather than a yard that looks like it was decorated piece by piece. Their guidance also recommends starting with the highest-impact hardscape element and a skeletal planting plan, then layering in detail over subsequent seasons.
Pro Tip: Keep your bubble diagram loose. The goal is to test whether the patio, garden, and lawn relate well to each other before you commit to exact dimensions.
3. Backyard Design Ideas by Yard Type and Use
Once your zones are mapped, the real design choices depend heavily on what kind of yard you’re working with and how you plan to use it. A few patterns show up again and again across different lot sizes and goals.
For small yards, scale is everything. Vertical planting, trellises, tiered planters, or wall-mounted beds, lets you grow more without eating into usable floor space. Narrow patios along one edge rather than a central slab keep sightlines open, and built-in bench seating that doubles as storage solves the perpetual small-yard problem of where to put the hose and the cushions.
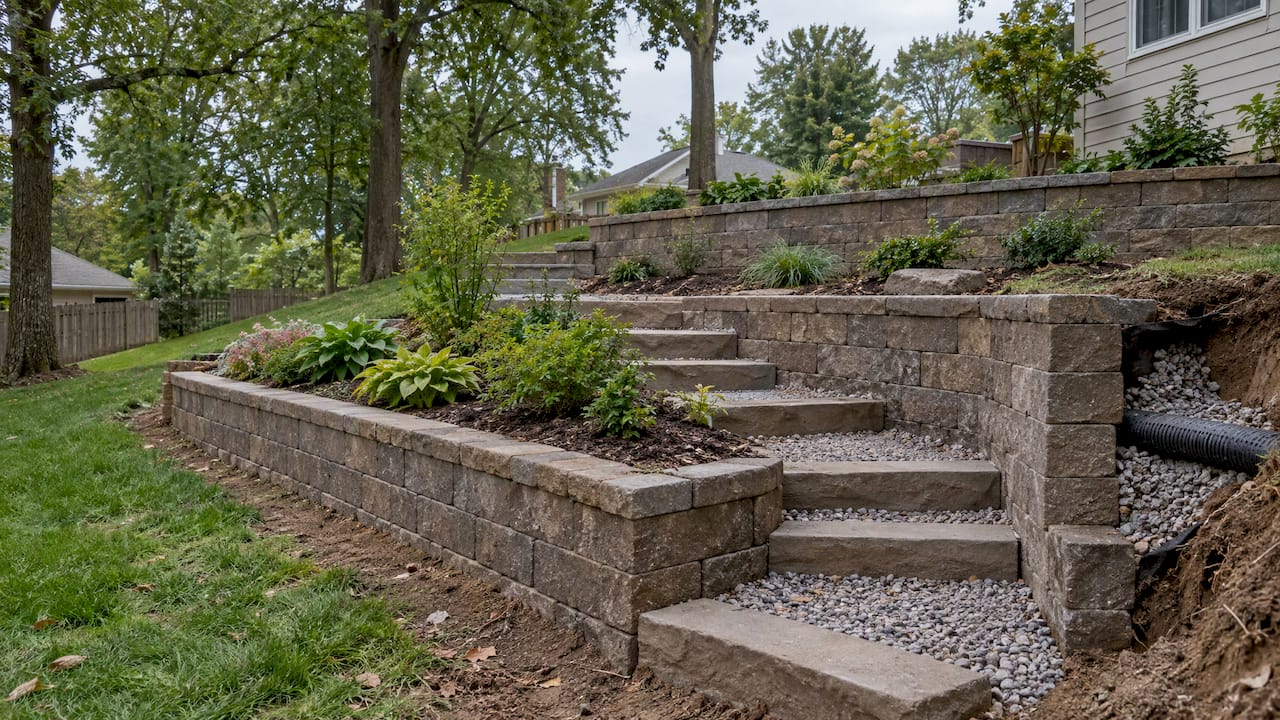
Sloped yards need a different approach entirely. Terracing breaks a steep grade into flat, usable levels, and planted retaining walls soften what would otherwise look like a concrete shelf. Any wall over a couple of feet needs drainage behind it, usually gravel backfill and a perforated pipe, to keep water pressure from pushing the wall forward over time. Switchback steps, rather than one long straight run, make slopes feel less steep and give you landings to pause or place a container garden.
Family-first yards tend to need mixed-use turf that can take foot traffic and the occasional soccer ball, along with surfaces durable enough to survive bikes and scooters. Clear sightlines from the kitchen or living room window to the play area matter more than most homeowners plan for, since supervising kids from inside depends on an unobstructed view.
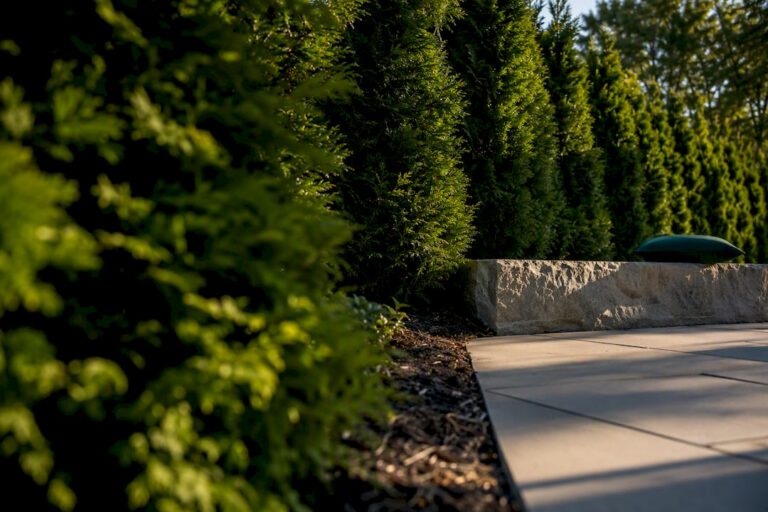
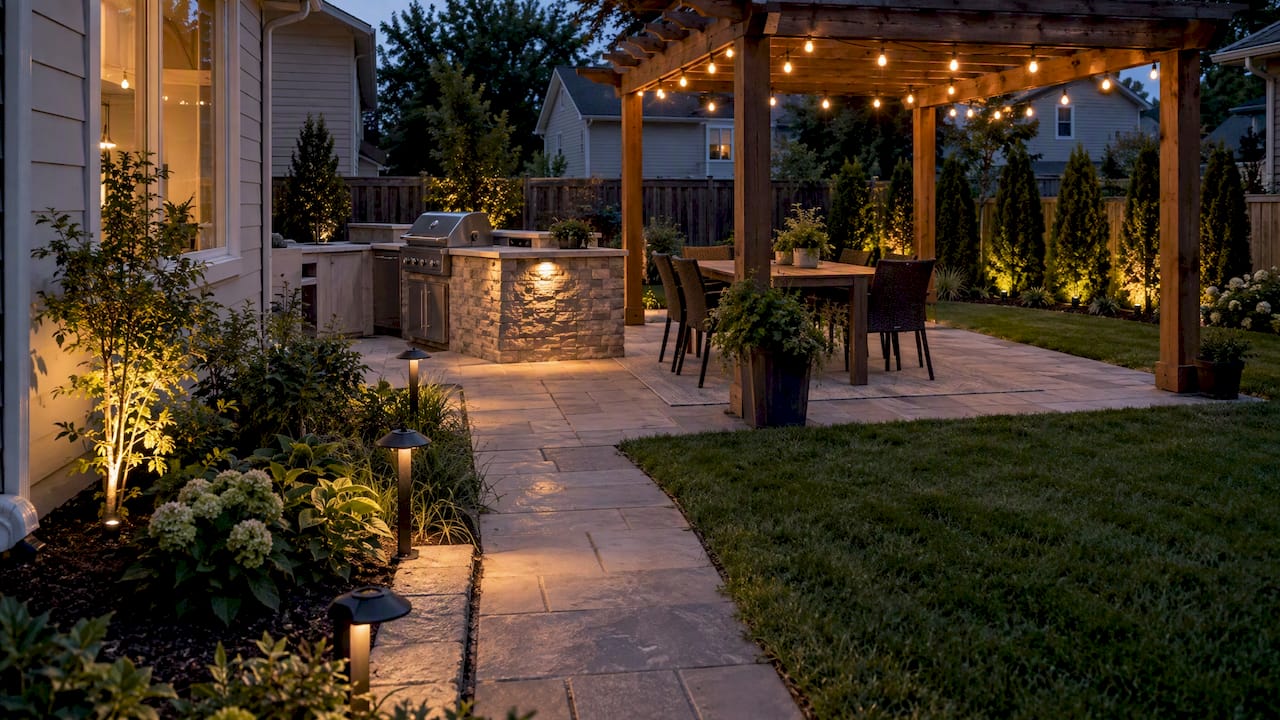
Entertaining-focused yards build around circulation and layers. An outdoor kitchen footprint needs enough clearance for someone to work a grill without backing into a seating group, usually a minimum of several feet of clear space on the working side. Layered lighting, path lights for safety, string lights for ambiance, and accent lights on key plants or walls, does more for evening usability than one bright floodlight. Privacy screening, whether a fence, a row of arborvitae, or a pergola with climbing vines, turns an exposed patio into a space people actually want to linger in. Circulation paths that connect the patio, the grill, and the yard’s edges without crossing the lawn keep foot traffic off grass that’s trying to establish.
4. Choosing Hardscape Materials and Siting Them Right
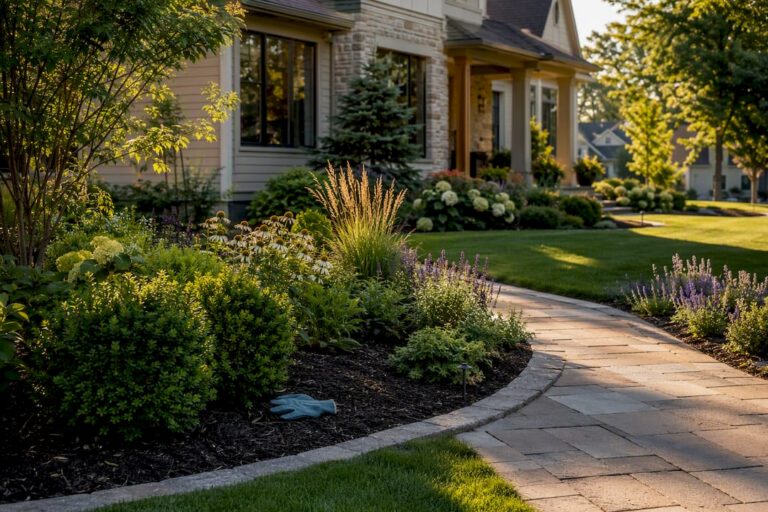
Hardscape, the patios, paths, walls, and structures that don’t grow, carries most of a backyard’s budget and most of its long-term durability risk. Material choice affects both.
- Pavers cost more upfront than poured concrete but are far more DIY-friendly, since a cracked or settled paver can be lifted and reset without demolishing a slab.
- Poured concrete gives a clean, seamless look but cracks are permanent and usually require professional patching or replacement of a section.
- Natural stone costs the most and takes the most labor to install correctly, but it ages the best and rarely needs replacement.
- Keep main walkways at least 3 feet wide for comfortable two-way foot traffic, and closer to 4 feet where you want wheelchair or stroller access.
- Slope paths gently away from the house, roughly a couple of percent grade, so water never pools against the foundation or pools mid-path.
Retaining walls deserve particular caution. Short walls under about 3 feet with simple backfill drainage are reasonable DIY projects for an experienced homeowner, but anything taller, or any wall holding back a slope near a structure, usually needs an engineer’s input on drainage and reinforcement. A partner guide on patio base prep from a masonry contractor walks through gravel base depth and drainage details that apply to walls as much as patios, worth reading before you order materials.
Lighting is where many DIY plans stall, and for good reason. Low-voltage path and accent lighting is a manageable weekend project, but any new 120-volt circuit, for an outdoor kitchen or a lit pergola, should go through a licensed electrician. Mixing that step up risks code violations and real safety hazards.
Pro Tip: Lay out your patio and path shapes with a garden hose or stakes and string before ordering materials. It costs nothing and catches scale problems you can’t see on paper.
5. Picking Plants That Match Your Zone and Soil
Plant selection is where good layouts either pay off or quietly fail over the following two or three years. Matching species to your actual climate and soil conditions is what separates a landscape that thrives from one that needs constant replacement.
- Check your spot against the USDA Plant Hardiness Zone Map before buying any perennial or tree, since a plant rated for a colder or warmer zone than yours is unlikely to survive long term.
- Favor native and climate-adapted species where possible, since they typically need less supplemental water and fertilizer once established and tend to support more local pollinators and birds.
- Group plants into the hydrozones you mapped earlier, and set irrigation zones to match rather than running one blanket schedule for the whole yard.
- Order a soil test from a local extension lab before planting large trees or wide beds, since soil near foundations is often compacted or altered by construction and may need amendments to support healthy root growth.
- Give every plant room for its mature size, not its nursery-pot size, and keep large trees well clear of foundations and marked utility lines.
The USDA’s 2023 hardiness map update added over 13,000 weather stations and shifted many areas about half a zone warmer compared with the 2012 version, meaning a plant you ruled out years ago based on the old map might now be a safe bet, and vice versa for borderline cold-tolerant species.
6. Design Tools and a Simple Workflow for DIY Plans
You don’t need professional software to produce a usable plan, but a workflow helps you avoid skipping steps.
- Free and low-cost 2D planners are strongest for laying out dimensions, bed shapes, and hardscape footprints accurately to scale.
- 3D visualization tools help you preview how a patio, fence, or planting bed will actually look and feel once it’s built, which flat plans can’t show.
- Follow the same sequence every time: base plan, then bubble diagram, then a refined scaled plan, then a plant list, then a materials and budget list.
- If you’re getting contractor estimates, hand over a scaled plan, site photos, and a short list of your priority features in order, so every bid is based on the same scope.
7. Budgeting, Phasing, and Keeping Up With Maintenance
Backyard projects rarely fail because of bad ideas. They fail because of budgets that don’t match reality or maintenance that falls off after the first season.
- Scope your highest-priority feature first, often a patio or a planting bed renovation, and get that fully built and planted before starting the next phase.
- Spread remaining features across one to three more phases, timed to your budget cycle rather than crammed into a single season.
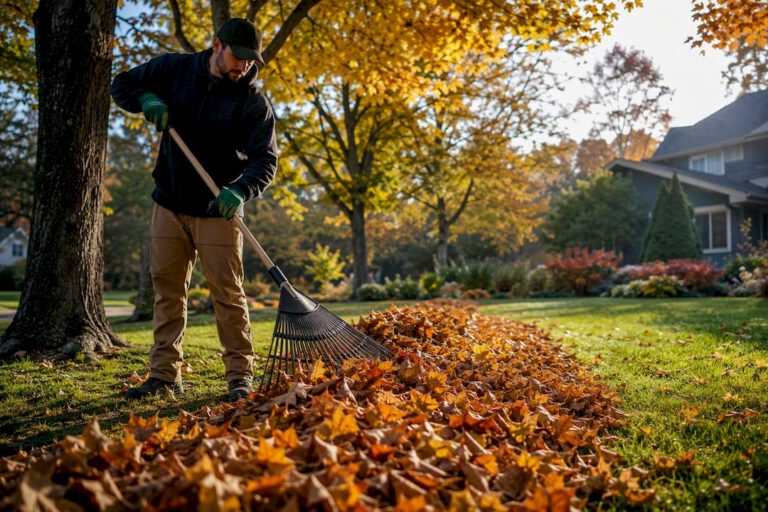
- Set a seasonal rhythm: spring prep and planting, a midsummer irrigation check, fall cleanup and bed mulching, and winter protection for tender plants.
- Check your irrigation system by hydrozone rather than plant by plant, since overwatering usually comes from running a zone too often rather than too long.
- Watch for the most common irrigation pitfall: a system designed around flow rate alone, ignoring that frequency, not just volume, determines how much water actually reaches roots.
Smaller cleanup and bed-refresh projects are a good entry point if a full redesign feels like too much at once. Signs it’s time to refresh your landscape beds covers the warning signs worth watching for between bigger phases.
What We See Go Wrong Most Often
After years of walking McHenry County backyards, the mistakes repeat: skipping the site analysis and finding out the hard way where water actually drains, underestimating how much standing water a low corner collects, and planting trees or shrubs that outgrow their spot within a few seasons.
DIY work saves money on labor, but it costs time, and some steps carry real limits. A retaining wall over a few feet, a new electrical circuit, or a permit-triggering structure usually calls for licensed help. Knowing where that line sits before you start saves both money and rework.
— Chas
How We Help You Build the Backyard You’re Planning
We handle the parts of a backyard redesign that carry the most risk and the most physical labor: landscape design and installation, paver patios, tree and shrub planting, drainage and grading solutions, and the mulch service that finishes off new beds. A typical design-to-install engagement starts with a site visit where we walk your yard the same way this guide describes, checking sun, slope, and drainage, then builds a phased scope so you can spread cost across seasons instead of committing to everything at once.
A free estimate from us includes a scoped plan, a timeline, and pricing broken into phases if you want to stage the work. We also offer annual property maintenance and landscaping plans to keep a finished yard looking sharp once the installation phase wraps up. If you’d rather see examples before reaching out, our recent projects page shows real backyard builds across McHenry County. When you’re ready to talk through your own yard, request a free estimate and we’ll walk the site with you.
FAQ
What would $1,000 do to improve your backyard?
A budget around that size is usually enough for one focused improvement rather than a full redesign, such as a mulched and replanted bed, a small paver path, or several native shrubs and perennials sized for your USDA hardiness zone. Spending it on your highest-priority bubble diagram zone, rather than spreading it thin across the whole yard, tends to produce a more noticeable result.
Do I really need to call 811 for a small planting hole?
Yes, utility lines can sit closer to the surface than most people expect, even near property edges far from the house. Excavator safety guidance recommends calling at least two business days before any digging, regardless of hole size.
How do I know if my yard needs a retaining wall?
If you have a slope steep enough that water runs off quickly instead of soaking in, or a grade change you want to turn into a usable flat area, a retaining wall is often the answer. Walls under a few feet with proper drainage backfill are manageable DIY projects, but taller walls or ones near a structure typically need an engineer’s review.
Should I hire a landscape designer or plan it myself?
Many homeowners handle the site analysis, bubble diagram, and plant selection themselves using the steps outlined by extension resources like Mississippi State University’s home landscape design guide. Hiring a professional makes more sense once the project involves retaining walls, electrical work, or a full patio installation where mistakes are costly to undo.
What’s the biggest mistake homeowners make when designing a backyard?
Skipping site analysis is the most common one, since drainage, sun patterns, and underground utilities all shape which designs will actually work. Colorado State University Extension points to this step as the one professionals never skip, precisely because it prevents expensive rework later.
Sources
- USDA unveils updated Plant Hardiness Zone Map
- Excavator manual / Nebraska 811 (2026)
- Water-wise landscape design steps — Colorado State University Extension
- Home Landscape Design — Mississippi State University Extension Service